Summary
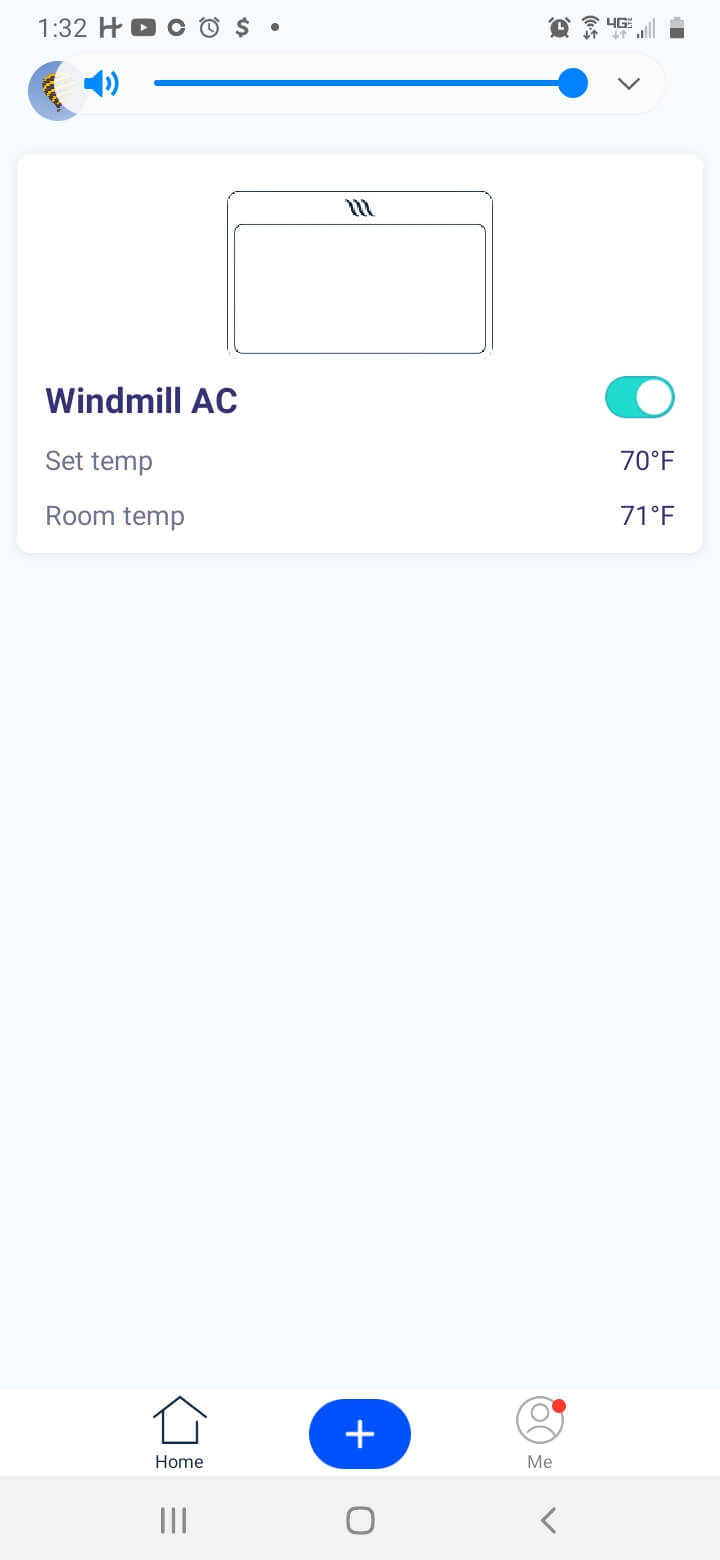
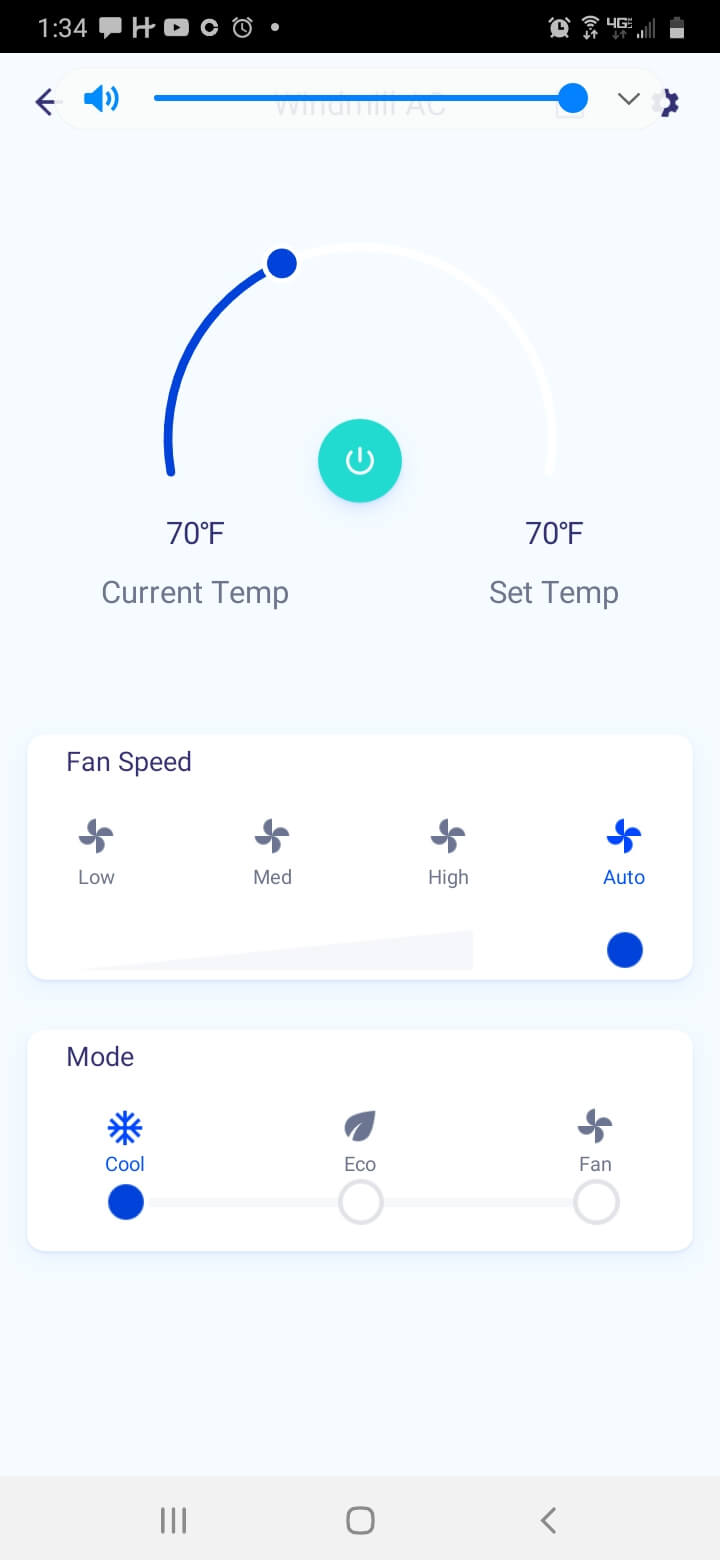
Today we are going to open, unbox, and install a Windmill AC unit. I have always been intrigued by the product and the WIFI connectivity so I decided to purchase and install one for a friend to test the functionality of the machine and the Windmill AC APP.
Jobe Leonard scribed this blog post on the Reschexpert blog. He is a fan of energy efficient cooling technology and the owner of Rescheck.info

Jobe Leonard Rescheck.info
Today on the Reschexpert blog we want to bring you another segment of our HVAC industry product roundup.
Today we are going to open, unbox, and install a Windmill AC unit. I have always been intrigued by the product and the WIFI connectivity so I decided to purchase and install one for a friend to test the functionality of the machine and the Windmill AC APP.
Seeing as how there are not many blog posts or videos available on installing the Windmill AC unit I thought I could be a resource. So here goes:
First, thing you should know is the kit is fairly comprehensive. It even includes a pair of scissors. You will start by using the scissors to install sticky weather stripping (included also) to the underside of the window. Then you apply the non sticky foam (also included) to the left and right sides of the window frame.
Second, the Windmill AC unit is much lighter than the old school window units, however I still suggest enlisting a friend to help you lift the unit up to the window sill. I estimate it weighs about 50 awkwardly square shaped pounds. Your number one concern in this step should be finding a good balance, not dropping the Windmill AC unit out of the window to the ground below, and finding a slight tilt of maybe 1 degree so that water can shed off the back of the unit to the outside.
After the unit is set into place, lower the window on top of the unit, to lock it in place. The Windmill AC unit contains a side hood like a Cobra snake that allows you to expand into the window and seal against the outside air. I suggest extending it out and attaching it with the included screws. Next the Windmill AC includes some decorative panels install those to the outside as well.
At this point most people would be done. This is an optional step. I have a roll of White Gorilla or other high quality duct tape. Your job at this point is to turn off all the lights in the room you are working in and eliminate any areas that you can see direct sunlight around the AC installation that you just completed.
Now after your unit is weather sealed, it is time to install the special carbon filter. The white front grill is held on by magnets. Remove it followed by the black grill underneath it. On the back side of the black grill the carbon filters are attached. Install one and reinstall the black and then the white grill.
Plug in the unit.
How to download the Windmill Air Conditioner App
Download the Windmill AC APP on ITUNES
or
Download the Windmaill AC APP on Google Play
Related Links:


Overall, the Windmill AC unit install is a breeze. Give yourself 30-45 minutes. The only additional item I would suggest is a roll of high quality white colored duct tape to make sure your Windmill AC Cobra Hood is Air Tight against the window around it. Also a friend to lift it. This is not as heavy as the window knocker you used to install every summer with your Dad, but the shape is compact but akwardly heavy. Safety first!
The Windmill I installed is basically a .75 ton unit so it meets a cool need for something sized between .5 ton and 1 ton and has an app that can allow you adjust temperature from afar and increase overall energy savings. I was not paid a penny for this review or the Google Nest reviews and do it strictly to test high quality, modern technology HVAC offerings. I did notice on the Windmill homepage they will begin offering a .5 ton Windmill unit next spring. I will look forward to testing it and updating you then.
I hope you enjoyed this version of the Reschexpert blog and the Windmill AC installation guide, setup and unboxing.
Free Windmill AC Installation PDF


